________________________________________
Move Existing Lead
Moves a lead-in/lead-out pair to a different location on the cutting path

Move Existing Lead allows you to drag a lead-in/lead-out pair to different locations or sides on the same entity or to a completely different entity. As the leads are dragged along, they attach to the closest entity. The Manual Lead-in / Lead-out settings are used if the leads become too long or too short, or if the offset angle is unusually large (greater than 40 degrees). The traverse connected to each lead is always maintained.

When moving leads, the traverse connections always remain unchanged.
By default, the Move Lead tool re-creates the new lead using the geometry specified for the manual lead tool. To force the software to keep the original length and angle of the lead being moved, hold down the CTRL key before clicking the new location. If the manual lead tool setting for Constraints is set to "Allow any size I stretch to" then the leads can be stretched or shortened as needed.
To use the Snap Options Angle Increment setting (Default = 15° increments), press the SHIFT key to see the angle and then hold the SHIFT key while clicking to indicate the new lead location and force that angle for the new leads. (For this to work, you will need to have selected a Snap type of 'End' or 'Middle' to lock the tip of the Leads in a specific place.)

Move Existing Lead Requirements
- There must be two leads
- The two leads must share a common point within 0.0001"
- The two leads must be the closest two leads at the location clicked.

Clicking either lead allows you to drag the lead i/o pair to a new location.
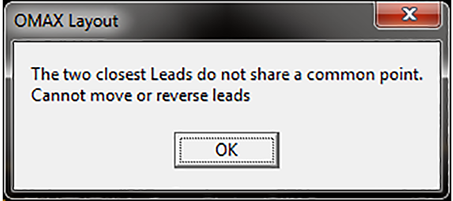
Always click the lead at a point close to the second lead being moved (white arrow above). Clicking a lead too far from the other lead and closer to a different lead in another i/o pair (red arrow) results in an error message.

To correct this, click the lead at a location that is close to the other lead being moved.
Move Existing Lead was written using OMAX Scripting.
See Also
