![]()
________________________________________
Cutting Parts
Pre-machining Checklist
Prior to begin cutting the part, follow this pre-machining checklist to ensure everything has been properly prepared to obtain a safe and problem free cut.
- Startup Checklist complete?
- Ear protection on?
- Eye protection on?
- Anyone or anything near the nozzle that could be hit when the nozzle moves?
- Is there enough abrasive available to cut the part?
- Is the nozzle positioned at the start of the path?
- Verify that the abrasive hose is attached.
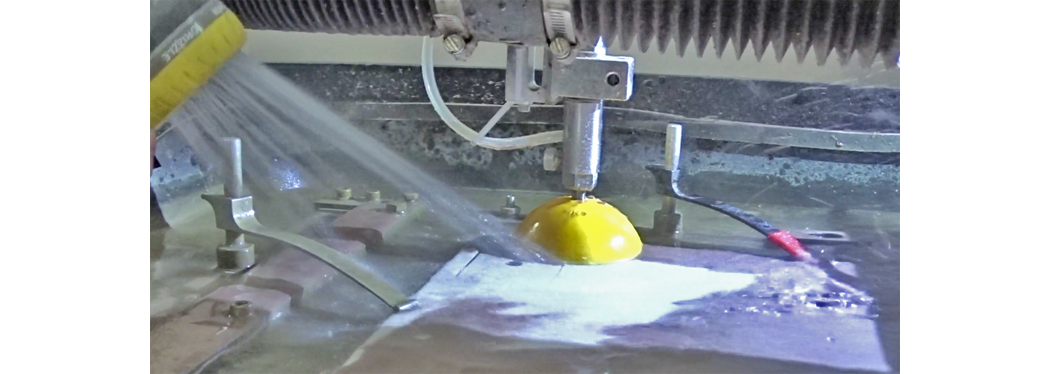
- Fill tank with water using spray hose until water is 1/4 in. above material surface
- Adjust water drain level to maintain desired level.
- Lower the splash guard until bottom of guard is even with mixing tube tip.
- Lower ProtoMAX lid.
Begin Machining the Part
Left-clicking the Start button will activate the cutting head and start the machining process
1. Click the Begin Machining button.

2. Click the Start button.

3. Clicking the Pause button at any time stops the cutting head and turns the water and abrasive OFF.

4. Click the Path Control Close button.

Remove the Cut Part from the Machine
1. Close any machining function windows in MAKE
2. Raise the lid.
3. Lower the water level.
4. Rinse OFF excessive abrasive from the part.

5. Raise and move the nozzle out of the way of the part.
6. Remove and inspect the part

Best Part Cutting Practices
- Stay in the area
- Watch the part being machined
- The white cross on the MAKE preview window will move to reflect the current position of the nozzle on the part
- If the machine must be paused for any reason, click Pause in MAKE while the part is cutting
- Monitor the abrasive level and add as needed