
________________________________________
Preview to Screen
Review how the part will be made

Use the Preview to Screen command to view how your ProtoMAX machine will make the part. Colors are used to show how quickly the machining head is moving. Using Preview can help in spotting any possible problem spots in the part (such as the machining head moving over an already cut piece, which may tilt up). Choosing any other command, or zooming in or out on the preview will halt Preview.
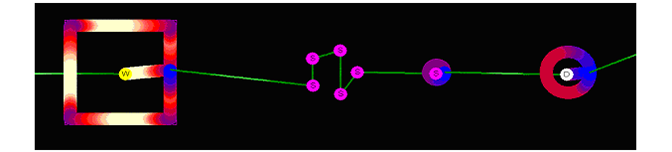
A sample Preview in progress
Preview is also useful for locating places where the machining head slows down (such as entering a sharp curve). When planning to machine a part many thousands of times, it is worth the effort to optimize the speed of the tool path. For example, changing a right-angle turn to a smooth bend can speed up the tool path in that section.
Preview denotes the following actions:
Blue
Slow area on part (for Qualities 1 to 5).
Red
Fast area on part (for Qualities 1 to 5).
Green
Traverse. Dark green is slower than light green.
A circle shows the current position of the virtual machining head as MAKE goes through the preview.

A white circle around a "D" indicates a Dynamic pierce.

A purple circle with an "S" indicates a stationary pierce. If MAKE does not have enough room for any other kind of pierce, it will automatically use a stationary pierce.

Right-click menu
When you right-click on the button, the following menu appears.

Right-click Preview to Screen to see the above drop-down menu
Many of the Preview options discussed below are intended for use by experienced operators. They are not needed for most operations.
Preview (Default)
This performs the same preview as left-clicking on the Preview to Screen button.
Preview Motor Steps…
This preview displays each motor step (approximately 0.005" [0.13 mm], although this could vary depending on the make and model of your ProtoMAX). You will need to zoom in at least 5,000% before the boxes that represent each motor step will be visible. This command is primarily useful for troubleshooting difficulties with accurately machining a part.

Each box is one motor step; the line represents the tool path
Show Path Sequence
This preview adds numbers to each "sequence" (section of tool path following a traverse). This can make it easier to see the order in which the various sections of the part are made.
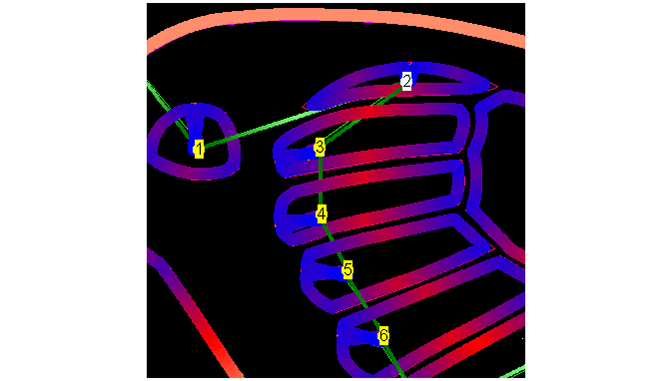
Sample Path Sequence for a part
