________________________________________
Stretch Arc
Change an arc, or convert a line into an arc

Right-click commands
The Stretch Arc lets you adjust an existing arc, or change an existing line into an arc. The Stretch Arc command is primarily useful for artistic effects.

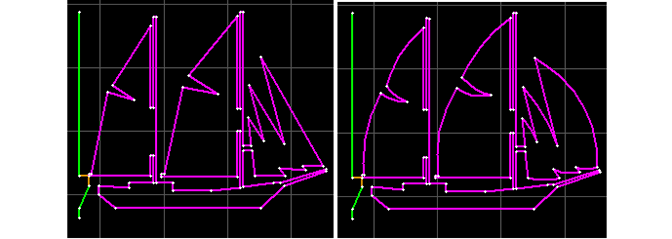
In the SHIP sample file, the straight lines in the sails were converted to arcs using the Stretch Arc command
To draw an arc with a specific radius, first draw an arc using the Three point Arc command. Then use Stretch Arc to specify the desired radius.
How to Use Stretch Arc
The Stretch Arc command is similar to the Three point Arc except that the first two points are already determined--they are the end points of the entity you select). You specify only the third point, which essentially determines the amount of curvature and the direction of the arc.

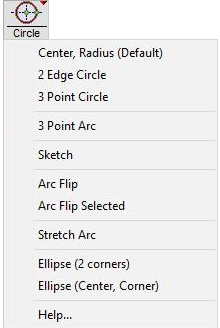
1) Right-click on the Circle button and select "Stretch Arc."
Press Esc at any time to cancel the Stretch Arc command.
2) Select the line or arc you want to work with by clicking on it once.
3) There are three ways to adjust the arc: use the Snaps toolbar that appears, using the mouse, or directly specifying the arc radius.
If you are using the mouse to adjust the arc, you will see a blue arc that shows the curvature and direction of the arc.
You can use the Snaps toolbar to specify the location of the third point.
You can use "Change Arc Radius" dialog that appears to enter a new radius for the arc. You cannot enter a radius smaller than the current radius (the edit box will turn yellow), but you can make the radius as large as you want.

The Snaps toolbar

Use this dialog to directly specify a radius for the arc
4) The arc is drawn.
If you hold down the Shift key when using the Stretch Arc command, the arc is converted to a line.