________________________________________
Rotate
Rotate selected entities

Right-click commands
The Rotate command rotates the selected entities counter-clockwise around a specified point. The entities can be rotated visually using the cursor, or by entering a specific angle of rotation.

How to Use Rotate
1. Use the Select command to select the entities to be rotated
If at least one entity is not selected when the Rotate button is clicked, then all entities in the drawing are automatically selected.
2. Click the Rotate button.
3. Specify the location of the rotation point.
The Snap toolbar appears. Use these tools to specify where the rotation point will be.
You can also click the left mouse button anywhere on the drawing to specify a rotation point.

Use the Snaps toolbar to specify the rotation point
4. LAYOUT prompts you for the angle of rotation in degrees.
There are two ways to specify the rotation of the selected entities:
- Enter a value from -360 to 360 degrees in the data entry box (see Using the Edit box). Or, use the and buttons to change the entered value. Click on OK to rotate the selected entities.
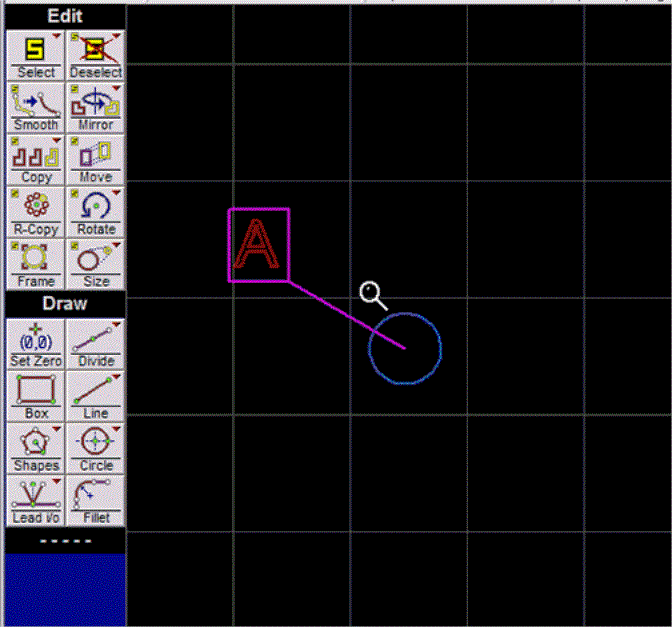
Note that rotation is counter-clockwise. For example, a value of 90° will rotate the entities to the left around the center of the circle.- Use the cursor to rotate the selected entities. As you move the cursor, a blue line appears between the cursor and the specified point. A blue outline of the object moves as you move the cursor.
The longer the blue line is, the more accurately the entities can be rotated. The angle of rotation appears in the status bar at the bottom of the screen.
Click the left mouse button when the entities are in the desired position.

Enter the number of degrees to rotate the selected entities
