________________________________________
Ellipse
The mouse wheel can be used to zoom-in and zoom-out while using this command.

Right-click commands
There are two ways to draw an ellipse in LAYOUT :
- Specify the two corners of the box that define the ellipse
- Specify the center of the ellipse and a corner of the box that encloses the ellipse
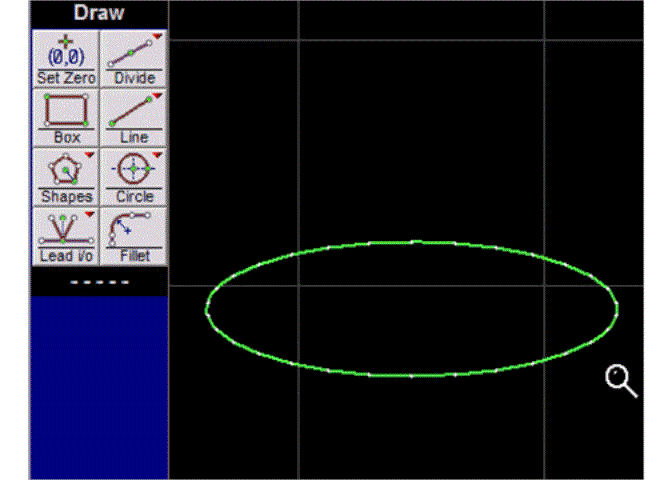
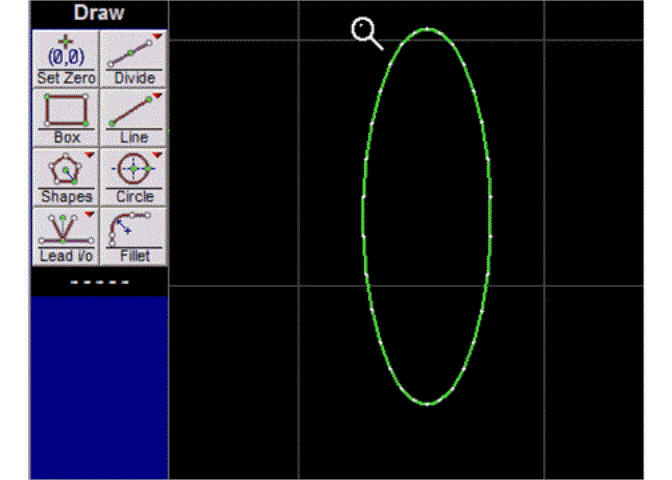
In both cases, the ellipse is then approximated with arc segments. The more flattened the ellipse, the more arc segments are used. Unlike a circle, there is no "center" to an ellipse.
The entry under "curve resolution" in Configure Preferences does not affect how an ellipse is generated. The number of arc segments used to generate the ellipse is determined by LAYOUT and cannot be adjusted.
How to Draw a Two Corner Ellipse
In a "Two Corner" ellipse, specify two corners of a box that encloses the ellipse.

The purple ellipse is enclosed by the green box
1) Right-click on the Circle button and select "Ellipse (2 corners).
The Snaps toolbar appears. Use these tools to specify where one corner of the box enclosing the ellipse will be.
You can also click the left mouse button anywhere on the drawing to specify where you want one corner of the box.

The Snaps toolbar
2) After selecting the first point, a dotted-line rectangle will appear, with a solid line ellipse inside it. As the cursor is moved, the ellipse changes shape to fit inside the box.

After selecting the first point, a rectangle appears with the ellipse inside it
3) Specify the location of the second corner of the box enclosing the ellipse, using the snap toolbar or the Ellipse Dimensions dialog.
Enter the size of the ellipse directly in the Ellipse Dimensions dialog. Also enter width and height of the rectangle enclosing the ellipse. The values are relative to the location of the first point. You can also click the left mouse button to indicate the position of the second point and draw the ellipse.
Press Esc to cancel drawing the ellipse.

Specify the ellipse dimensions using this dialog
4) The ellipse is drawn.
How to Draw a Center-Corner Ellipse
In a "Center-Corner" ellipse, first specify the center of the ellipse. Next, specify the corner of a box that encloses the ellipse (the ellipse is symmetrical around the center point).

1) Right-click on the Circle button and select "Ellipse (2 corners)." Typing Shift+E also activates the Center-Corner Ellipse command.
The Snaps toolbar appears. These tools let you specify where the center of the ellipse will be.
You can also click the left mouse button anywhere on the drawing to specify the location of the center of the ellipse.

The Snap tools toolbar
2) After selecting the first point, a dotted-line rectangle will appear, with a solid line ellipse inside it. As the cursor is moved, the ellipse changes shape to fit inside the box. The ellipse and the box are centered on the selected point.

After selecting the first point, a rectangle appears with the ellipse inside it
3) Specify the location of the corner of the box enclosing the ellipse, using the snap toolbar or the Ellipse Dimensions dialog.
Enter the size of the ellipse directly in the Ellipse Dimensions dialog. Also enter width and height of the rectangle enclosing the ellipse. The values are relative to the location of the first point.
You can also click the left mouse button to indicate the position of the box corner and draw the ellipse.
Press Esc if you want to cancel drawing the ellipse.

You can specify the ellipse dimensions using this dialog
4) The ellipse is drawn.