Assemble and Install the Laptop Tray
| 1. | Remove the flat-head screws [1] from the brackets and set aside. |
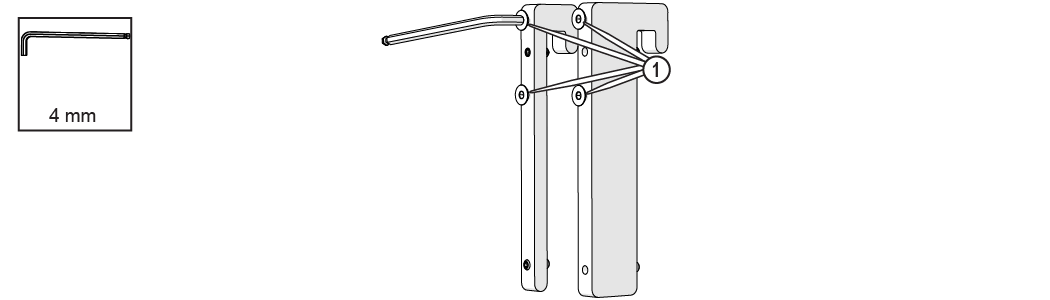
Figure 2
| 2. | Loosen the four set screws [1]. |
note
Ensure the cone point setscrews are installed on top and the flat point setscrews are at the bottom.
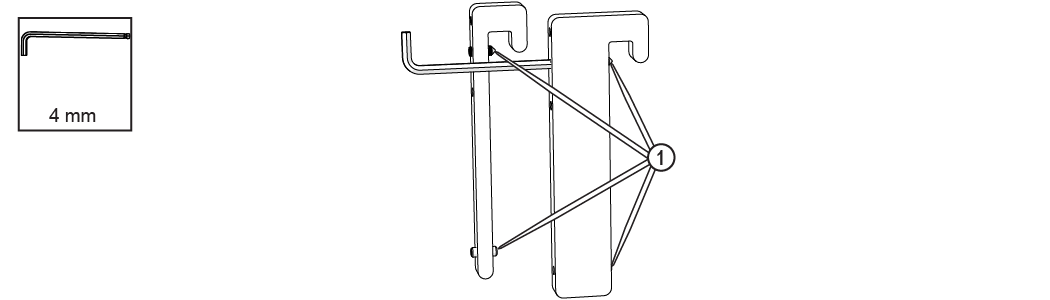
Figure 3
| 3. | Attach the brackets to the tray with the flat-head screws and tighten. |
note
Ensure the thick bracket [2] is attached on the curved edge (front) [1] of the tray.
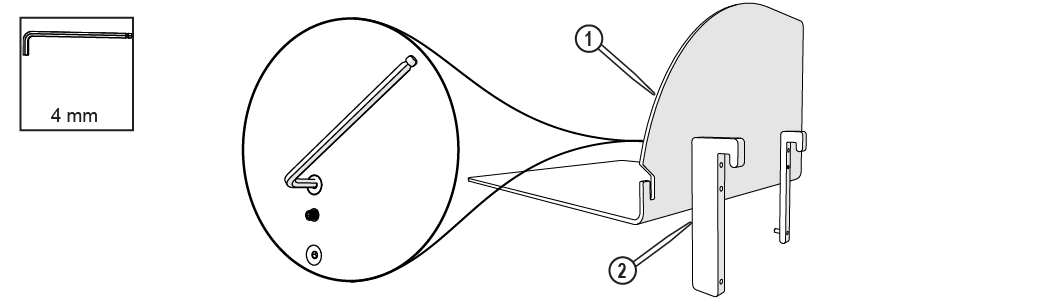
Figure 4
| 4. | Hang the laptop tray on the left side of the catcher tank. |
note
Ensure the rear of the laptop tray does not interfere with the hopper.
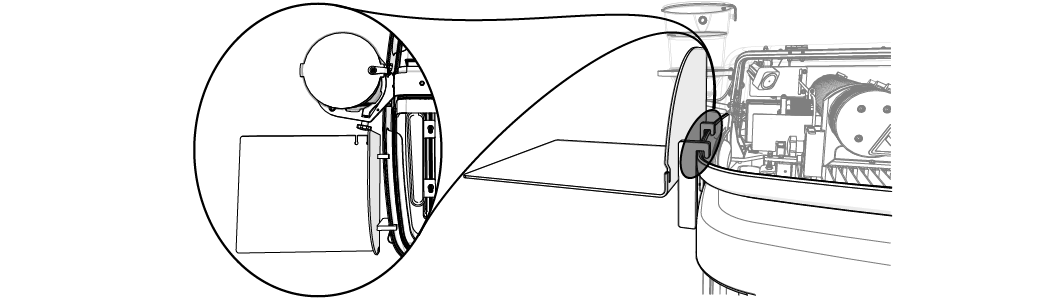
Figure 5
| 5. | Adjust the set screws to stabilize the laptop tray against the catcher tank. |
note
Tighten the top set screws until the pointed end of the screw sets firmly into the catcher tank. This helps the laptop tray from accident being knocked from the machine.
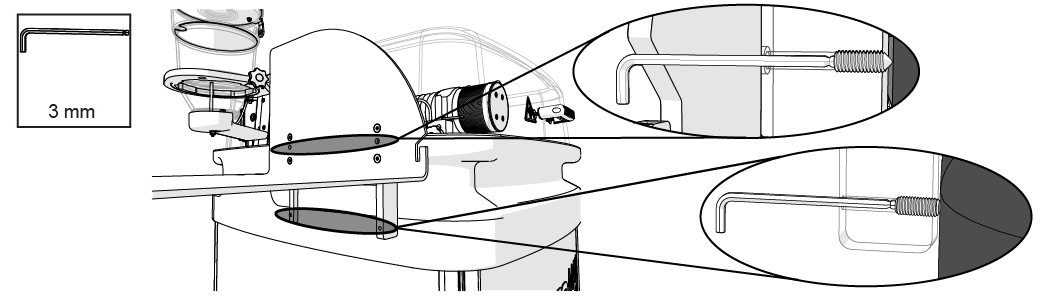
Figure 6
| 6. | Place the laptop on the tray and route the laptop power cable [1] and USB cable [2] through the slots at the rear of the laptop tray. |

Figure 7
| 7. | Attach the bead chain to the stand-off tool (included with the ProtoMAX) and hang it on the laptop tray front. |

Figure 8