Attach the Y-Axis End Cap and Bellows
| 1. | Using MAKE, move the Z-axis forward, approximately 5–6 inches from the front hardstop. |
| 2. | Reattach the end cap and bellows. |
Rotating the bellows helps to eliminate rub marks or holes on the interior of the bellows, prolongs the bellows life. If needed, loosen the clamp at both ends of the bellows, rotate the bellows approximately 90 degrees then secure with the clamps.

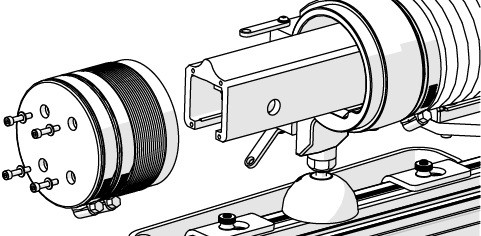
Figure 837
Figure 838
| 3. | Pull the front bellows to the Y-axis carriage, pulling the bellows lip over the y-axis carriage, ensuring there is an even gap all around the y-axis carriage. |
![]()
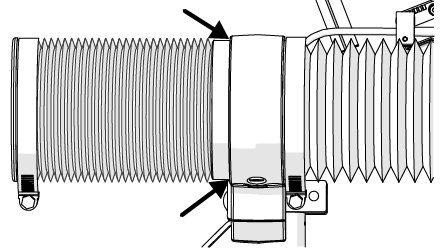
Figure 839
| 4. | Attach the clamp, confirm the gap around the Y-axis carriage then tighten the clamp. |


Figure 840
| 5. | Verify the bellows cuff [1] has not pulled away from the carriage housing. |
![]()
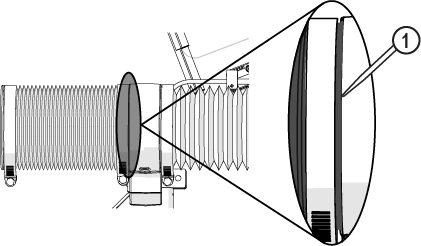
Figure 841
| 6. | Move the Y-axis forward and backward three full strokes to distribute the lubricant along the lead screw. |
![]()
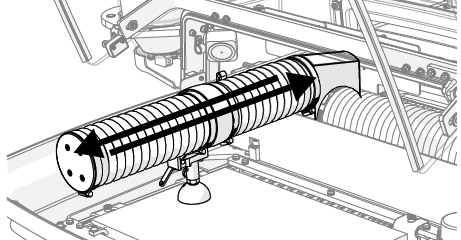
Figure 842